

- Aug 24, 2018
- 327
- 9,233
Greetings, it is I KnightWalker49
Today I bring to you a new entry in the Builder's Blog, a series where we learn building techniques and talk about anything related.
In this entry, it will discuss flora; e.g. plants, trees, anything related to those. Flora refers to the plants in a particular region, plants that may be fairly unique to a specific geographical location or time in history; because of the fact that evolution changes the way plants look and/or function. This entry will be discussing how to add flora, even in places where you think it's not needed. It's everywhere, nature can easily take over an area if given the time and chance to do so.
Chapter 1: A Simple Flower Garden
Part 1: Introduction
To begin, let's start with something simple. Let's start with a simple flower garden, because it is very flexible in terms of where you can use it. The first thing you need to do is pick a good colour pallet which compliment each other, on the previous entry of Builder's Blog we discussed colour pallet but that was mainly for building purposes; we will be discussing flower colours and the way they compliment each other in this entry. In Minecraft, we can't place flowers in close bundles so the stem of a flower will be exposed. Generally speaking a flower's stem is green, or some variant of green. Because of this, the colours of the blocks/plants you use must at least compliment the green if not the colour of the flower(s) you choose.
To help you match flowers with one another, I've made this small reference you can use. I am not saying that this is the only colour pallet that will work, but it's a good guideline for beginners who don't really know which flowers work with what (see figure 1).

fig. 1: Flower gradient for referencing.
Part 2: Using Greenery
Let's talk about greenery, in a flower garden you don't just have flowers. Sometimes, flower gardens also include some bushes, grass and even small trees. Greenery has a lot of uses, from dividing flower groups to filler, I often use it as a "supporting/background colour". If you look at figure 2-a, you'll see an example of a pretty plain and empty-looking flower garden. It has too much empty space, the selection is good though, but it's too "light" because of the fact that there's empty space. Flower gardens are often filled to the brim with plants, making the colours more pronounced.

fig. 2-a: An empty-looking flower garden.
If you look at figure 2-b, you'll notice that I've added leaves, ferns and grass. Most of them are in the background, that's because they are used to fill up the empty space; or at least as much empty space as possible. Again, because of the way Minecraft works we can't place flowers in tight bundles. Which is why we have to get creative when it comes to filling up the dead space.

fig. 2-b: A more filled flower garden.
Part 3: Using Depth and Height to Make Your Garden Look More Full
To stay in the topic, let's talk about depth. Depth has already been discussed on Builder's Blog Entry 1-A, and similar rules apply when it comes to building flower gardens. Depth is something that should be kept in mind, because it can make your garden look more fuller than it really is. For starters, let's talk about height. What I mean by "height" is the height of the objects you are using in your flower garden, from the height of the flowers to the height of the trees and decor, height can be utilised in many ways. For this example, take a look at figure 3 for an example of a small but luscious flower garden:

fig. 3: A small garden in front of a home.
As you can tell, it has more "weight" to it when it comes to the amount of flowers that are actually there and that's because of depth. At the front, I've placed smaller flowers to act as an outline for the taller flowers. They highlight the overall shape of the entire garden and they make the colours blend with one another, as well as add more colour to the place rather than just being one colour; although the colour pallet is similar, having the whites in with the pinks/purples was a needed variation in terms of colours. If you haven't noticed yet, some of the Lilacs and Peonies are planted one block above the ground. They give the garden more shape and it makes the garden seem more packed than it is, and the added height along the wall also reinforces this; and since they're taller, they give the eye something to start focusing on.
And finally, I've placed tall grass, large ferns and oak leaves in the background to further fill in the space. You probably didn't notice it at first, but if you looked closely you will see them.
Part 4: Trees
Now we are going to dive into a more "complicated" topic, which is the construction of a custom tree. This is a fairly "hard to teach" subject, because building good trees comes with time and experience; especially if you are building trees by hand. Depending on what kind of tree you are building, the technique will vary; but the same rules should still apply regardless. The main thing to keep in mind when it comes to building trees is the shape of the tree, the branches (like real trees) dictate the shape of your tree.
Let's just start simple by building a small Dark Oak Tree by hand, or at least what I think it would look like if it were real; as far as I am aware, Dark Oak Trees aren't a real thing but do correct me if I am wrong. Let's begin by building the trunk and branches, place a tower of stripped logs about 3-4 blocks tall.

fig. 4-a: Tree building starter.
What you can then do is add the "main branches" of the tree, it'll help you with visualising the general shape of the tree. Try to make them not point in the same direction, and remember to try to make their height differ from each other to give the tree more variety.

fig. 4-b Adding main branches.
This is optional, but I like to add fences on the main branches to act as smaller branches. It will add more detail to the overall tree, even if not a lot of people will see it. It's just a small detailing trick you can use to fill up the often hollow/empty space under the leaves of trees, it can also help with further refining/dictating the shape of your tree; if the tree is big enough this is not necessary as you can just use full blocks, but you can still use this technique.

fig. 4-c: Adding smaller branches to the main branches of the tree.
This next step is a fairly unorthodox technique, but it gets the job done. Basically, you place leaves on top of the blocks that have access to direct sky light; meaning that there's no blocks above it. What you can then do is cover the blocks below the leaves, like such:

fig. 4-d: Adding leaves on top of blocks.

fig. 4-e: Adding leaves on the sides of the blocks below the leaves that were placed first.
Now that you have the leaves of the tree, you can then refine the shape further. Add and/or remove leaves where necessary, just make sure to not overdo it as you need the "randomness" that was created by following the branches. Since the vanilla dark oak trees have a relatively flat top, I will try to imitate that.

fig. 4-f: Replicating the flat top of vanilla dark oak trees.
Now to make the top more interesting rather than flat is to add a few leaves on the side, place one down and skip a block and then repeat the process. You can make the other "teeth" 2 blocks long, this is so that there's more variation rather than just being flat/smooth.

fig. 4-g: Adding a few blocks on the side to make it more interesting.
You're almost done, all you need to do is add more logs to make the trunk of the tree more thick. And try adding slabs, stairs and/or fences along the trunk; just to add a bit more detail to the tree.

fig. 4-h: Finishing the tree's trunk.
You're pretty much done with the tree, now just add a few extra detailing stuff like grass and vines. Add more greenery to the overall tree to make it more seem overgrown, maybe a few flowers here and there.

fig. 4-i: Adding details to the tree.
As you can see, building trees is very simple. It's all about what blocks you use and the shape of the overall tree, although it takes a while to get a good eye on "what a good tree look like" if you build enough trees you will eventually figure it out; just keep practicing. Now, the steps I showed you can be applied on a bigger scale as shown below:

fig. 5: Bigger custom dark oak tree.
The techniques discussed can pretty much be applied for all types of trees, although you'll have to apply them slightly differently. Here are two examples of trees made using the techniques discussed above, although applied slightly differently:

fig. 6-a: Small custom oak tree.

fig. 6-b: Tall custom birch tree.
Part 5: Making A Flower Garden
Now that you know some key techniques about making a flower garden, now it's time to apply those techniques into practice. Flower gardens are typically placed around the house, however most people only place them at the front because that's the place where people view a house the most. By using the techniques discussed earlier, I've made a simple flower garden that you would probably see in your average suburban neighborhood setting.

fig. 7: Suburban house with a flower garden at the front.
Flower gardens aren't restricted to just houses, they can also be placed around trees as show in the figure below. These kinds of flower gardens can be commonly seen in big areas such as parks or in front of huge buildings by the side of pathways.

fig. 8: Flowers surrounding birch tree.
Going back a few steps, flower gardens can also be a stand-alone piece. In the figure below, I made an example of a flower garden design that can be placed in front of a huge mansion build of some kind; this can be a decent alternative to using fountains as a centrepiece. This is also a nice example of depth, and this design can also be used in several ways. The front view design can be more for a "one-sided view", it's ideal for big builds; as discussed before. On the other hand, the back view can be utilised for a more overgrown setting by duplicating the back view to the other side; thus having 4 trees in the corners.

fig. 9-a: Flower garden centrepiece for mansions (front view).

fig. 9-b: Flower garden centrepiece for mansions (back view).
Epilogue:
I hope you enjoyed reading this article, this took a while to make because I was busy with other things. This has been way overdue, and I do apologise for that. As you may have noticed from the title, this is only part one. I decided to chop it into two parts so that it's not too long of a read, even though the entry is already fairly long; which means there will be more Builder's Blog to come!
I hope this entry was worth the wait, and remember that there will be more to come so follow my account for updates regarding Builder's Blog and possibly other articles that I may work on; or just follow me because you like the series and you like me. Make sure to interact with the article by giving it a like and sharing it with fellow builders and aspiring builders, it will also help if you left comments in this entry stating what you thought about it and suggestions for future entries. Don't forget to submit pictures of your builds for the next entry of Builder's Blog for a chance to be featured, I've talked about this numerous times in multiple updates and at the end of the previous entry; Builder's Blog Entry 1-B. If you really support this series and you like what I do, please read entire entries in this series and interact with them as much as possible.
Anyway this is a very special release for a very special day, and I hope you learned a thing or two from this article.
I hope you enjoyed reading this!
Check out the previous Builder's Blog Entries!
Like what I write? Read my previous articles:
Want to know the references and resources I used to make this article? Here they are!
Boop
Today I bring to you a new entry in the Builder's Blog, a series where we learn building techniques and talk about anything related.
In this entry, it will discuss flora; e.g. plants, trees, anything related to those. Flora refers to the plants in a particular region, plants that may be fairly unique to a specific geographical location or time in history; because of the fact that evolution changes the way plants look and/or function. This entry will be discussing how to add flora, even in places where you think it's not needed. It's everywhere, nature can easily take over an area if given the time and chance to do so.
Chapter 1: A Simple Flower Garden
Part 1: Introduction
To begin, let's start with something simple. Let's start with a simple flower garden, because it is very flexible in terms of where you can use it. The first thing you need to do is pick a good colour pallet which compliment each other, on the previous entry of Builder's Blog we discussed colour pallet but that was mainly for building purposes; we will be discussing flower colours and the way they compliment each other in this entry. In Minecraft, we can't place flowers in close bundles so the stem of a flower will be exposed. Generally speaking a flower's stem is green, or some variant of green. Because of this, the colours of the blocks/plants you use must at least compliment the green if not the colour of the flower(s) you choose.
To help you match flowers with one another, I've made this small reference you can use. I am not saying that this is the only colour pallet that will work, but it's a good guideline for beginners who don't really know which flowers work with what (see figure 1).
fig. 1: Flower gradient for referencing.
Part 2: Using Greenery
Let's talk about greenery, in a flower garden you don't just have flowers. Sometimes, flower gardens also include some bushes, grass and even small trees. Greenery has a lot of uses, from dividing flower groups to filler, I often use it as a "supporting/background colour". If you look at figure 2-a, you'll see an example of a pretty plain and empty-looking flower garden. It has too much empty space, the selection is good though, but it's too "light" because of the fact that there's empty space. Flower gardens are often filled to the brim with plants, making the colours more pronounced.
fig. 2-a: An empty-looking flower garden.
If you look at figure 2-b, you'll notice that I've added leaves, ferns and grass. Most of them are in the background, that's because they are used to fill up the empty space; or at least as much empty space as possible. Again, because of the way Minecraft works we can't place flowers in tight bundles. Which is why we have to get creative when it comes to filling up the dead space.
fig. 2-b: A more filled flower garden.
Part 3: Using Depth and Height to Make Your Garden Look More Full
To stay in the topic, let's talk about depth. Depth has already been discussed on Builder's Blog Entry 1-A, and similar rules apply when it comes to building flower gardens. Depth is something that should be kept in mind, because it can make your garden look more fuller than it really is. For starters, let's talk about height. What I mean by "height" is the height of the objects you are using in your flower garden, from the height of the flowers to the height of the trees and decor, height can be utilised in many ways. For this example, take a look at figure 3 for an example of a small but luscious flower garden:
fig. 3: A small garden in front of a home.
As you can tell, it has more "weight" to it when it comes to the amount of flowers that are actually there and that's because of depth. At the front, I've placed smaller flowers to act as an outline for the taller flowers. They highlight the overall shape of the entire garden and they make the colours blend with one another, as well as add more colour to the place rather than just being one colour; although the colour pallet is similar, having the whites in with the pinks/purples was a needed variation in terms of colours. If you haven't noticed yet, some of the Lilacs and Peonies are planted one block above the ground. They give the garden more shape and it makes the garden seem more packed than it is, and the added height along the wall also reinforces this; and since they're taller, they give the eye something to start focusing on.
And finally, I've placed tall grass, large ferns and oak leaves in the background to further fill in the space. You probably didn't notice it at first, but if you looked closely you will see them.
Part 4: Trees
Now we are going to dive into a more "complicated" topic, which is the construction of a custom tree. This is a fairly "hard to teach" subject, because building good trees comes with time and experience; especially if you are building trees by hand. Depending on what kind of tree you are building, the technique will vary; but the same rules should still apply regardless. The main thing to keep in mind when it comes to building trees is the shape of the tree, the branches (like real trees) dictate the shape of your tree.
Let's just start simple by building a small Dark Oak Tree by hand, or at least what I think it would look like if it were real; as far as I am aware, Dark Oak Trees aren't a real thing but do correct me if I am wrong. Let's begin by building the trunk and branches, place a tower of stripped logs about 3-4 blocks tall.
fig. 4-a: Tree building starter.
What you can then do is add the "main branches" of the tree, it'll help you with visualising the general shape of the tree. Try to make them not point in the same direction, and remember to try to make their height differ from each other to give the tree more variety.
fig. 4-b Adding main branches.
This is optional, but I like to add fences on the main branches to act as smaller branches. It will add more detail to the overall tree, even if not a lot of people will see it. It's just a small detailing trick you can use to fill up the often hollow/empty space under the leaves of trees, it can also help with further refining/dictating the shape of your tree; if the tree is big enough this is not necessary as you can just use full blocks, but you can still use this technique.
fig. 4-c: Adding smaller branches to the main branches of the tree.
This next step is a fairly unorthodox technique, but it gets the job done. Basically, you place leaves on top of the blocks that have access to direct sky light; meaning that there's no blocks above it. What you can then do is cover the blocks below the leaves, like such:
fig. 4-d: Adding leaves on top of blocks.
fig. 4-e: Adding leaves on the sides of the blocks below the leaves that were placed first.
Now that you have the leaves of the tree, you can then refine the shape further. Add and/or remove leaves where necessary, just make sure to not overdo it as you need the "randomness" that was created by following the branches. Since the vanilla dark oak trees have a relatively flat top, I will try to imitate that.
fig. 4-f: Replicating the flat top of vanilla dark oak trees.
Now to make the top more interesting rather than flat is to add a few leaves on the side, place one down and skip a block and then repeat the process. You can make the other "teeth" 2 blocks long, this is so that there's more variation rather than just being flat/smooth.
fig. 4-g: Adding a few blocks on the side to make it more interesting.
You're almost done, all you need to do is add more logs to make the trunk of the tree more thick. And try adding slabs, stairs and/or fences along the trunk; just to add a bit more detail to the tree.
fig. 4-h: Finishing the tree's trunk.
You're pretty much done with the tree, now just add a few extra detailing stuff like grass and vines. Add more greenery to the overall tree to make it more seem overgrown, maybe a few flowers here and there.
fig. 4-i: Adding details to the tree.
As you can see, building trees is very simple. It's all about what blocks you use and the shape of the overall tree, although it takes a while to get a good eye on "what a good tree look like" if you build enough trees you will eventually figure it out; just keep practicing. Now, the steps I showed you can be applied on a bigger scale as shown below:
fig. 5: Bigger custom dark oak tree.
The techniques discussed can pretty much be applied for all types of trees, although you'll have to apply them slightly differently. Here are two examples of trees made using the techniques discussed above, although applied slightly differently:
fig. 6-a: Small custom oak tree.
fig. 6-b: Tall custom birch tree.
Part 5: Making A Flower Garden
Now that you know some key techniques about making a flower garden, now it's time to apply those techniques into practice. Flower gardens are typically placed around the house, however most people only place them at the front because that's the place where people view a house the most. By using the techniques discussed earlier, I've made a simple flower garden that you would probably see in your average suburban neighborhood setting.
fig. 7: Suburban house with a flower garden at the front.
Flower gardens aren't restricted to just houses, they can also be placed around trees as show in the figure below. These kinds of flower gardens can be commonly seen in big areas such as parks or in front of huge buildings by the side of pathways.
fig. 8: Flowers surrounding birch tree.
Going back a few steps, flower gardens can also be a stand-alone piece. In the figure below, I made an example of a flower garden design that can be placed in front of a huge mansion build of some kind; this can be a decent alternative to using fountains as a centrepiece. This is also a nice example of depth, and this design can also be used in several ways. The front view design can be more for a "one-sided view", it's ideal for big builds; as discussed before. On the other hand, the back view can be utilised for a more overgrown setting by duplicating the back view to the other side; thus having 4 trees in the corners.
fig. 9-a: Flower garden centrepiece for mansions (front view).
fig. 9-b: Flower garden centrepiece for mansions (back view).
Epilogue:
I hope you enjoyed reading this article, this took a while to make because I was busy with other things. This has been way overdue, and I do apologise for that. As you may have noticed from the title, this is only part one. I decided to chop it into two parts so that it's not too long of a read, even though the entry is already fairly long; which means there will be more Builder's Blog to come!
I hope this entry was worth the wait, and remember that there will be more to come so follow my account for updates regarding Builder's Blog and possibly other articles that I may work on; or just follow me because you like the series and you like me. Make sure to interact with the article by giving it a like and sharing it with fellow builders and aspiring builders, it will also help if you left comments in this entry stating what you thought about it and suggestions for future entries. Don't forget to submit pictures of your builds for the next entry of Builder's Blog for a chance to be featured, I've talked about this numerous times in multiple updates and at the end of the previous entry; Builder's Blog Entry 1-B. If you really support this series and you like what I do, please read entire entries in this series and interact with them as much as possible.
Anyway this is a very special release for a very special day, and I hope you learned a thing or two from this article.
I hope you enjoyed reading this!
Check out the previous Builder's Blog Entries!
Entry 1-A: The Basics of Depth
https://brokenlens.xyz/forums/threads/builders-blog-entry-1-a-the-basics-of-depth.93548/#post-730377
Entry 1-B: Choosing a Good Colour Pallet
https://brokenlens.xyz/forums/threads/builders-blog-entry-1-b-choosing-a-good-colour-pallet.93942/
https://brokenlens.xyz/forums/threads/builders-blog-entry-1-a-the-basics-of-depth.93548/#post-730377
Entry 1-B: Choosing a Good Colour Pallet
https://brokenlens.xyz/forums/threads/builders-blog-entry-1-b-choosing-a-good-colour-pallet.93942/
Guide on Winning at PVP
https://brokenlens.xyz/forums/threads/information-a-guide-on-winning-at-pvp.86679/#post-681141
Identifying the Players of Broken Lens:
https://brokenlens.xyz/forums/threads/information-identifying-the-players-of-broken-lens.86356/
https://brokenlens.xyz/forums/threads/information-a-guide-on-winning-at-pvp.86679/#post-681141
Identifying the Players of Broken Lens:
https://brokenlens.xyz/forums/threads/information-identifying-the-players-of-broken-lens.86356/
[[References]]

Source: https://www.fool.com/retirement/2017/09/07/looking-to-downsize-during-retirement-consider-a-4.aspx

Source: https://www.hgtv.com/design/outdoor...landscaping-tips-that-can-help-sell-your-home
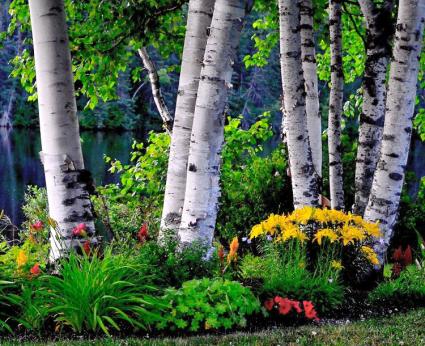
Source: https://garden.lovetoknow.com/trees/birch-trees
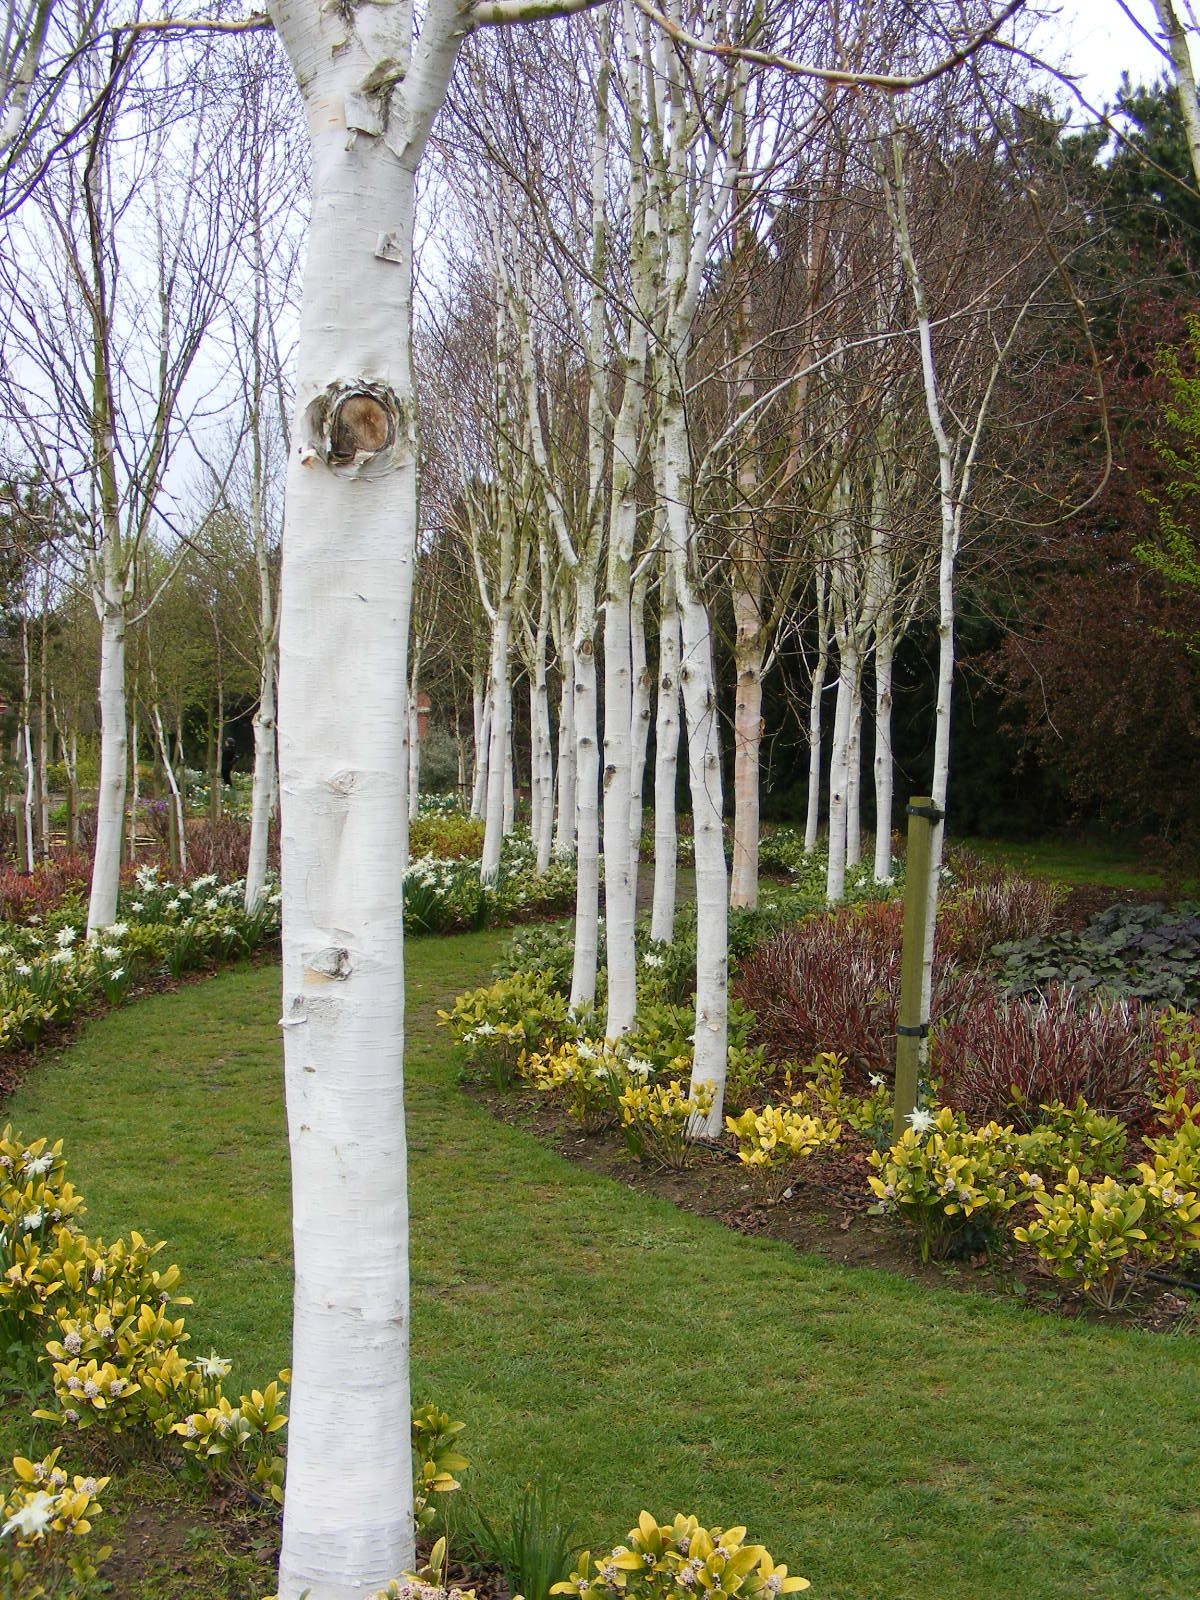
Source: https://www.pinterest.com/pin/372532200408514437/?nic=1
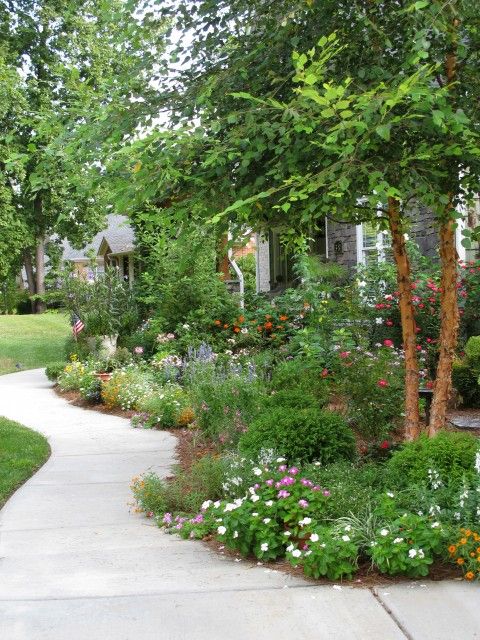
Source:https://www.pinterest.com/pin/510032726519222684/
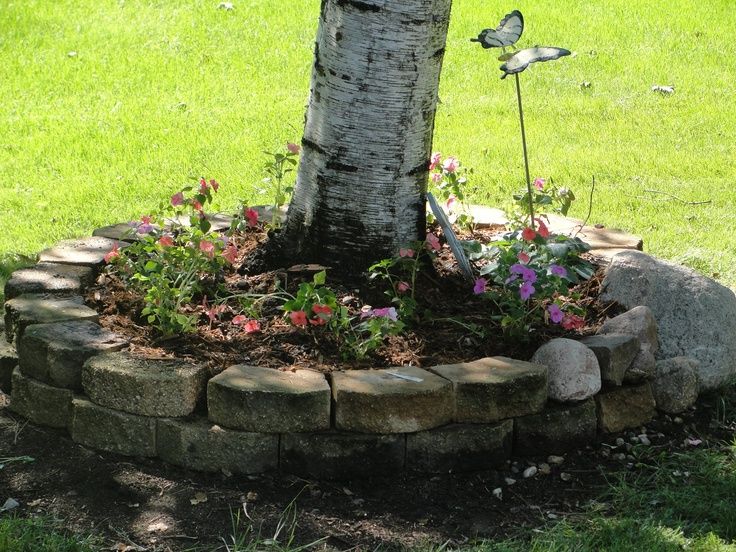
Source: https://www.pinterest.com/pin/358176976586289129/
[[Resources]]
Tips for Successful Flower Garden Design
https://www.bhg.com/gardening/design/styles/successful-flower-garden-design/
Flower garden design tips
https://www.flower-gardening-made-easy.com/flower-garden-design.html
Source: https://www.fool.com/retirement/2017/09/07/looking-to-downsize-during-retirement-consider-a-4.aspx
Source: https://www.hgtv.com/design/outdoor...landscaping-tips-that-can-help-sell-your-home
Source: https://garden.lovetoknow.com/trees/birch-trees
Source: https://www.pinterest.com/pin/372532200408514437/?nic=1
Source:https://www.pinterest.com/pin/510032726519222684/
Source: https://www.pinterest.com/pin/358176976586289129/
[[Resources]]
Tips for Successful Flower Garden Design
https://www.bhg.com/gardening/design/styles/successful-flower-garden-design/
Flower garden design tips
https://www.flower-gardening-made-easy.com/flower-garden-design.html
Last edited:


